Once the server has been installed, the workstation needs to be installed on the same computer and then on any other computers your store may have.

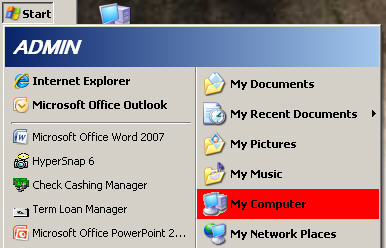
| » | With the Check Cashing Manager disc still in the CD-ROM drive, open My Computer from either the icon on your desktop (left) or through your Start menu (right). |
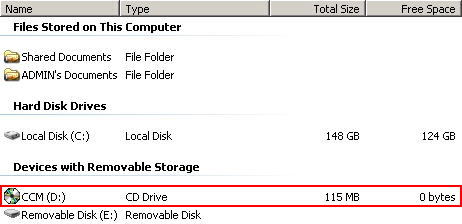
| » | Locate the CD Drive in the My Computer window. |
| » | Double-click the disc (CCM) to open the below menu. |
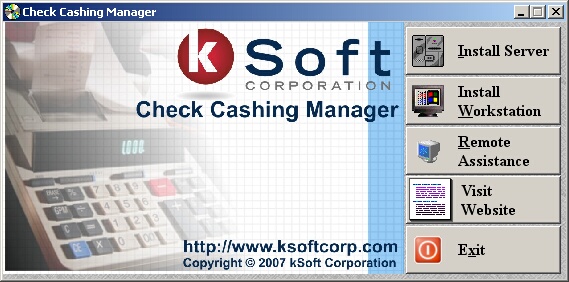
| » | Click the Install Workstation button. |
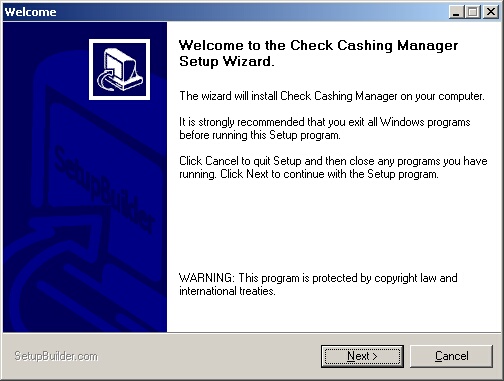
| » | Click Next to continue installing Check Cashing Manager on your computer. |
| » | Click Cancel to quit the workstation installation. |
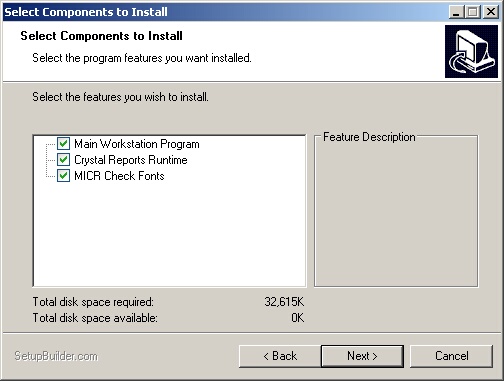
| » | Leave the default settings as is (all checked). |
| » | Click Back to return to the previous screen. |
| » | Click Cancel to quit the installation. |
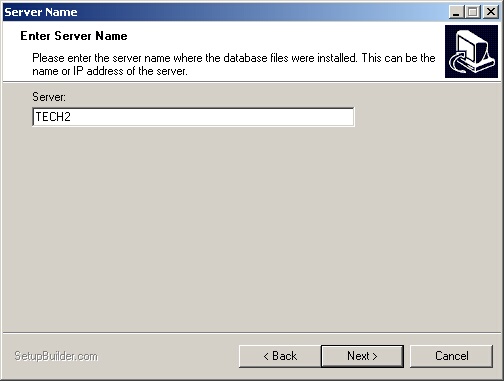
| » | Enter the sever name that you were given at the end of the server installation. |
| » | If this workstation is being installed on the same computer as the server, you may also enter (LOCAL) as the server name. |
| » | Click Back to return to the previous screen. |
| » | Click Cancel to quit the installation. |
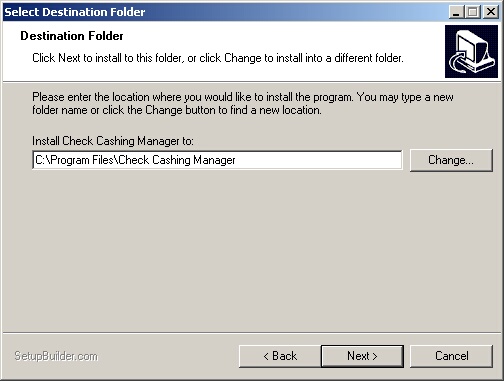
| » | Leave the Destination Folder as is unless you have a specific reason to change it. |
| » | Click Back to return to the previous screen. |
| » | Click Cancel to quit the installation. |
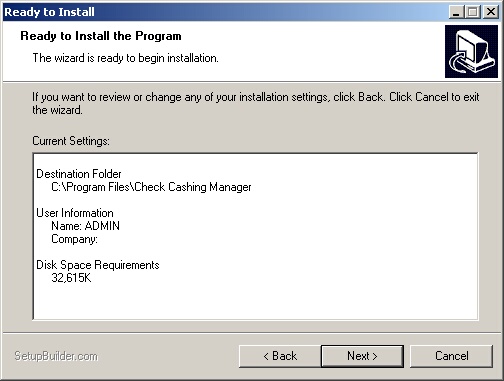
| » | Click Back to return to the previous screen. |
| » | Click Cancel to quit the installation. |
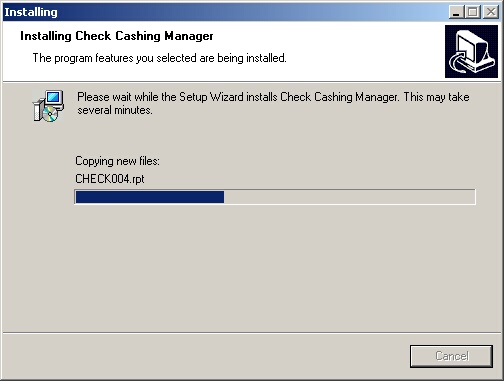
| » | Please wait as Check Cashing Manager is being installed. |
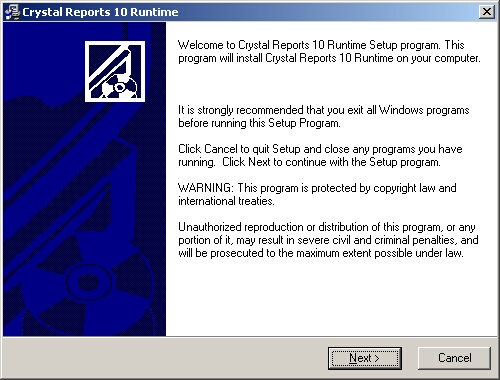
| » | Click Next to install Crystal Reports. |
| » | Click Cancel to quit the installation. |
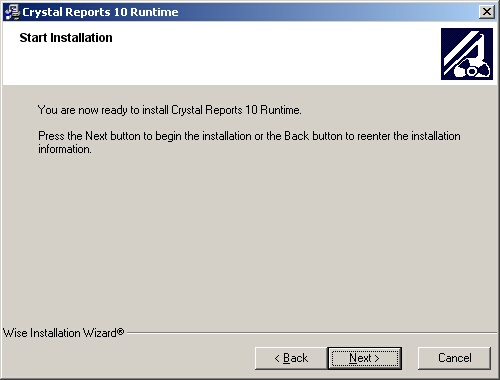
| » | Click Back to return to the previous screen. |
| » | Click Cancel to quit the installation. |
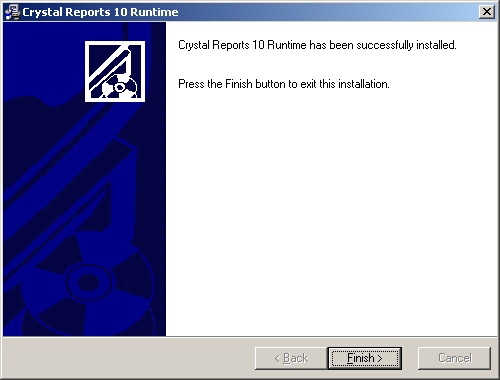
| » | Click Finish to exit the installation. |
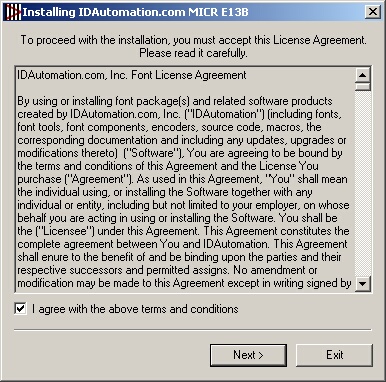
| » | Check the box indicating that you have read and agree to the terms. |
| » | Click Next to continue the MICR Font installation. |
| » | Click Exit to quit the installation. |
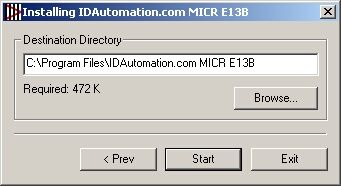
| » | Leave the Destination Folder as is unless you have a specific reason to change it. |
| » | Click Start to continue. |
| » | Click < Prev to return to the previous screen. |
| » | Click Exit to quit the installation. |
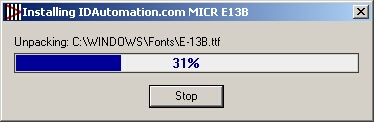
| » | Once the installation is 100% complete, the Stop button will turn to OK. |
| » | Click OK to complete the MICR Font Installer. |
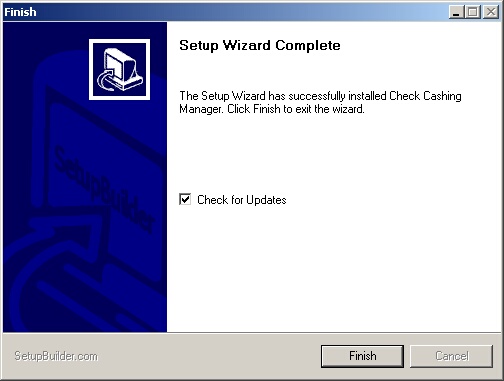
| » | Check the box to check for updates. |
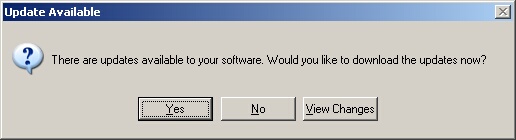
| » | Click Yes to install the updates (highly recommended). |
| » | Click View Changes to view the changes that were released in current update. |

| » | Please wait as the updates are being downloaded. |
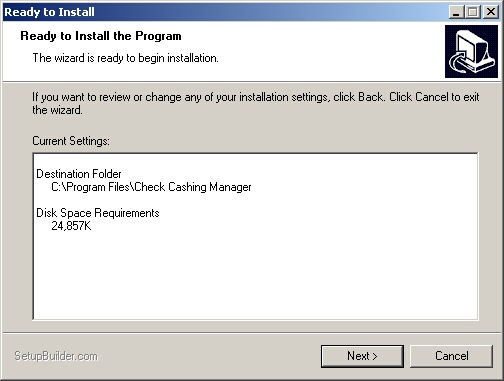
| » | Click Next to install the updates. |
| » | Click Cancel to exit the installation. |
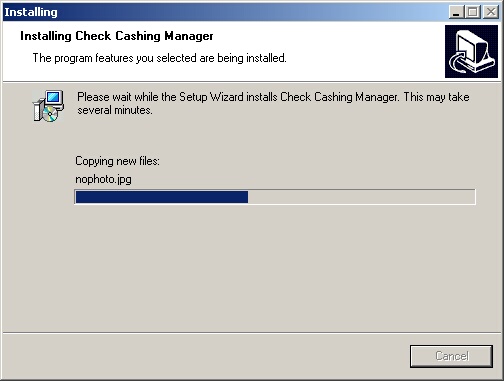
| » | Please wait as the updates are being installed. |
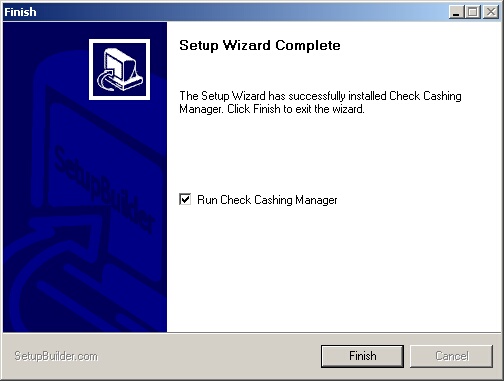
| » | Check the Run Check Cashing Manger box. |
| » | Click Finish to exit the installation and start Check Cashing Manager. |
Page url:
http://www.ksoftcorp.com/help/index.html?install_workstation.htm


