|
Server Installation |

|

|

|

|
The server needs to be installed on only one computer per store location. All other computers (including the one with the server) only require the workstation be installed. The server must be on your fastest computer or your main computer. Once the server has been installed, you will install the workstation on this same computer and then on any other computers your store may have. To view details on installing the workstation, please see Install Workstation.
* Note: The computer must be restarted after the database server files have been installed. Please be sure you have closed all other documents and programs before starting the installation.
Install Server
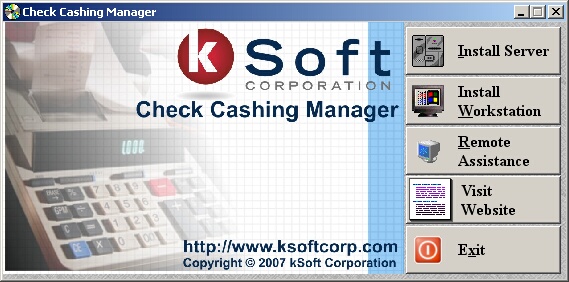
| » | Insert the Check Cashing Manager disc into the CD-ROM Drive. |
| » | If auto-run is currently turned on, you will be presented with the above menu. |
| » | If the above menu does not appear automatically, open the menu from My Computer. There may be an icon on your desktop (below left) or you may need to locate it through your Start menu (below right). |

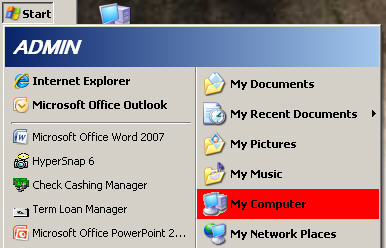
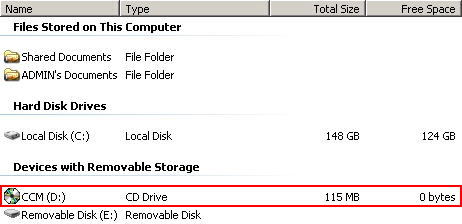
| » | Locate the CD Drive in the My Computer window. |
| » | Double-click the disc (CCM) to open the menu. |

| » | Click the Install Server button from the Check Cashing Manger menu. |
![]()
![]()
| » | Choose Install Server from the Install Server pop-up menu. |

| » | Click Yes to install the Microsoft SQL Server Desktop Engine. |
| » | Click No to cancel the installation. |
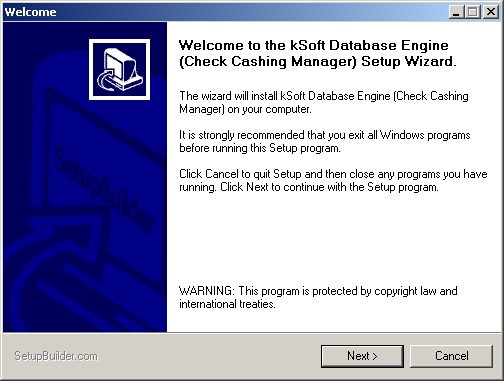
| » | Click Next to continue with the installation. |
| » | Click No to cancel the installation. |
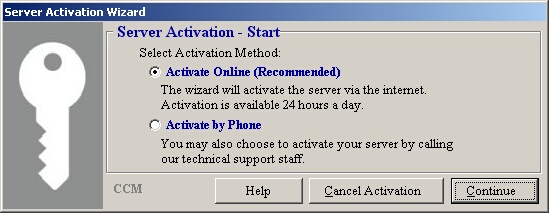
| » | Click the Activate Online radio button to activate your software using the serial number found on the back of your disc case. |
| » | The Activate by Phone option is only for kSoft Technical Support. |
| » | Click Continue to continue with the activation. |
| » | Click Cancel Activation to exit without activating your software or installing the program. |
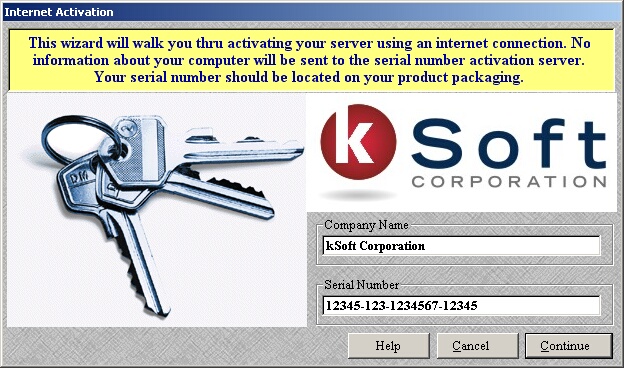
| » | Enter your company name in the Company Name field. |
| » | Enter in your software's 20-digit serial number (including hyphens) in the Serial Number field. The serial number is located on the back of the case that your disc came in. |
| » | Click Continue to continue with the activation. |
| » | Click Cancel to exit without activating your software or installing the program. |
| » | If your software was successfully activated a window will pop-up confirming this. Simply click OK to proceed. |
| » | If your software was not successfully activated a window will pop-up confirming this. Click OK to return the previous screen to re-enter your serial number. |
| » | If you still can not get your software activated, please contact a kSoft Support Technician. |
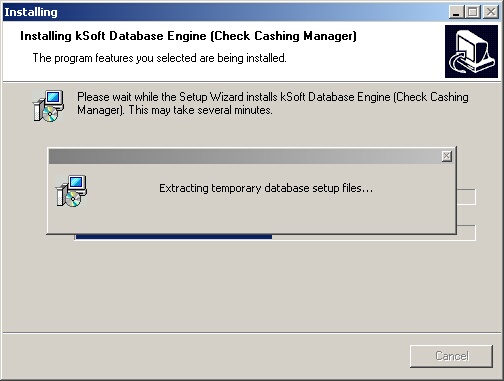
| » | The process of installing the Database Engine could take up to 20 minutes depending on the speed of your computer. |
| » | When this is finished you will need to restart the computer (see next step). |

| » | Click OK to restart the computer (highly recommended). |
| » | Click Cancel to return to Windows without restarting. |

| » | Once the computer restarts, the installation will continue automatically. |
| » | Click Next to continue with the installation. |
| » | Click Cancel to cancel the installation. |

| » | Once the database has been installed you will be notified of the server name. |
| » | Take note of this name as you will need it if you are installing multiple workstations. |
| » | The server name is actually the computer name. To find the server name |
| » | Click OK to complete the installation. |
Restore Previous Backup

| » | Insert the Check Cashing Manager disc into the CD-ROM Drive. |
| » | If auto-run is currently turned on, you will be presented with the above menu. |
| » | If the above menu does not appear automatically, open the menu from My Computer. There may be an icon on your desktop (below left) or you may need to locate it through your Start menu (below right). |


| » | Locate the CD Drive in the My Computer window. |
| » | Double-click the disc (CCM) to open the menu. |

| » | Click the Install Server button from the Check Cashing Manger menu. |
![]()
![]()
| » | Choose Restore Previous Backup from the Install Server pop-up menu. |
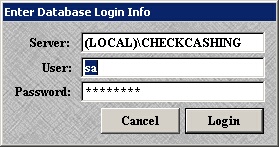
| » | Leave the Database Login Info as is unless directed otherwise by kSoft Technical Support. |
| » | Click Login to continue. |
| » | Click Cancel to exit. |
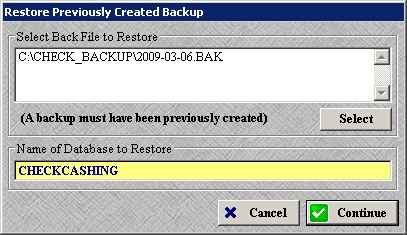
| » | Use the Select button to locate the backup you wish to restore. |
| » | Click Continue to restore the backup. |
| » | Click Cancel to exit. |
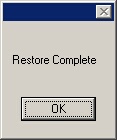
| » | Click OK to confirm the restore is complete. |
Server Name
The server name defaults to the computer name. To find the computer/server name follow the steps below.
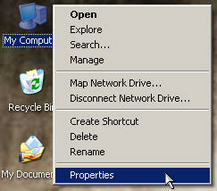
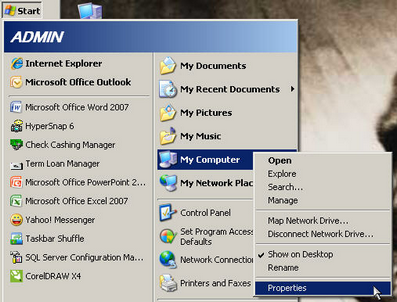
| » | Right-click on My Computer from either your desktop (left) or your Start menu (right) and select Properties. |
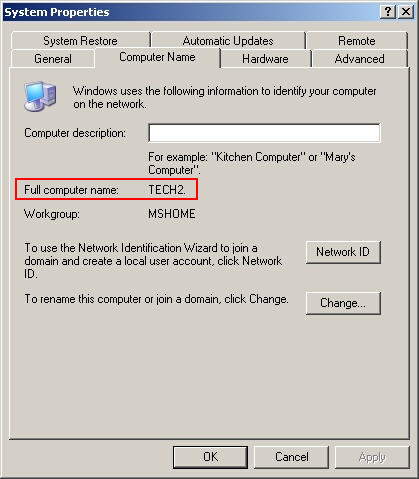
| » | The computer name is listed on the Computer Name tab (circled in red above). |
| » | Click OK to close the window. |
Page url: http://www.ksoftcorp.com/help/index.html?server_installation.htm