|
NSF Hightlighted Record |

|

|

|

|
Below is the step-by-step process for marking a check as returned from the bank.
While in the Check Cashing register, right-click the check you wish to mark as returned and select NSF Highlighted Record.

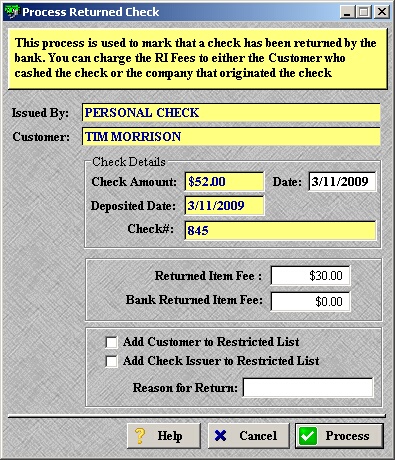
| » | The check issuer and the customer who cashed the check appear at the top. |
| » | Details of the check (amount, date, deposit date, and check #) are also displayed. |
| » | The NSF Fee to Charge is automatically populated from the Check Cashing Setup, but can be manually overridden. This is the fee you will be charging the customer. |
| » | The Bank Returned Check Fee is automatically populated from the Bank Account Setup. This is the fee that your bank charges you. |
| » | To automatically add this customer to the restricted list, check the Add Customer to Restricted List box. |
| » | To automatically add this check issuer to the restricted list, check the Add Check Issuer to Restricted List box. |
| » | Enter a reason for the check being returned if desired. |
| » | Click Cancel to return to the previous screen without saving. |
| » | Click Process to continue. |

| » | Click Yes to process the transaction. |
| » | Click No to Cancel the transaction and return to the previous screen. |

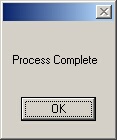
| » | Click OK to confirm the NSF process is complete. |
* Note: To view a list of all returned checks, please see Returned Checks. To make a payment on a returned check, please see Returned Checks or View Check Details.
Page url: http://www.ksoftcorp.com/help/index.html?nsf_hightlighted_record.htm